
Jun 22 2013
Studio Rearrange Take 439! Height Adjustable BENCH!
I wrote a lot of words… about rearranging my studio and my new height adjustable bench. If you don’t want to read it all, there are some cute kid pictures and a video – just scroll down!
Now for all the blather blather… It seems like as SOON as I get my studio set up in a functional manner that I’m happy with, something comes along to SCREW IT ALL UP!
My studio is a small room on the main level of our house, which was called a “bedroom” when we bought the house, but really is an office. The room has to serve several functions – our family computer sits on an Ikea desktop with 2 drawer units (which I LOVE, SO much space!), which the kids use daily for homework and playing. It’s my main computer as well for printing packing slips and shipping labels, as well as daily email, etc. A second Ikea desktop, solid wood, sanded and then lacquered by me is my main bench for cutting & bagging jump rings, and filing orders.
It works very well for 80% of what I do, but a traditional jeweler’s bench has a higher surface (as they say in Cougartown, about boob-high!) with a cutout for a bench pin, and a drawer underneath for catching filings, etc.
So when I wanted to do some metalwork — especially piercing, which requires sawing on the support of a bench pin, I was lowering my chair way down, and then hunching over my bench pin trying to saw things out — not extremely ergonomic or convenient. And any dust or filings just fell on the floor.
So when a friend of mine had her old jeweler’s bench up for grabs, I grabbed it! I happily sailed to Ikea, bought a little hanging rod and baskets for above bench organization, and gaily rearranged everything in my studio to make the new bench fit. And was very happy….. for a time. The problem with the new bench was I was constantly getting up to get some tool that was on the OTHER work surface, or was doing some job at bench #1 and then had to move over to bench #2 to use the flexshaft, or quick solder/pickle something or move back to do some filing, and blah blah blah. Plus, the new bench was right by the door and if the chair was out at all the door wouldn’t open.
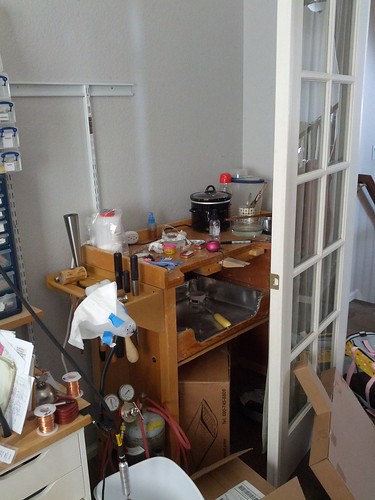
All in all, while I liked having a boob-high proper jeweler’s bench, I would rather keep my main workstation at ONE bench.
Even if it’s as messy as this.
Kind of sucks that BEFORE I brought this bench in, I had everything set up pretty well to my liking. I rearranged everything and did away with one piece of furniture to make room for the new bench. Le sigh.
About the same time I came to this conclusion, I started having some serious lower back pain. It started mid March, and the kids and I drove 2 days to Indiana around then, which didn’t start off the pain, but it sure didn’t help. My back started to finally feel better while we were there, and then we had to hop in the car to drive back! And then it was soooooooo much worse. The past 3 months have been on again off again horrible back pain, and sitting is the worst thing I can do for it.
I started to eyeball those height adjustable desks. Desks at standing height are all the rage, presently, it’s not goo dto sit 8 hrs a day, better to stand, there are even desks with treadmills so you can walk while you work! These are pretty much targeted to normal computer desk users, but I figured it would suit my needs for a work bench as well. It’s easy to rig a fixed standing height desk, but I knew there were times when I would want to sit as well. Coiling up jump rings is not easy to do standing up! So a height adjustable desk, that I could put at a sitting height, raise to chest high while sitting to do any piercing work, and then also raise all the way up to a standing height for filling orders and general day to day tasks and when my back is killing me… It started to sound like the best plan of all — everything at one adjustable height bench with no secondary benches!
So I started to research the height adjustable desk and settled on the Uplift 920 base at thehumansolution.com. This sucker can go as wide as I want and it can lift a LOT of weight, which is important, as my cabinets of jump rings alone weights about 80 lbs… and the kiln 35 pounds.. plus the benchtop itself, not to mention all the rest of the crap that resides on my bench. If I was going to upgrade my bench to this kind of fanciness, I wanted to make it bigger as well. I paired my adjustable base with a 96″ long solid wood countertop from Ikea. (Which they are actually phasing out, glad I got mine when I did!) This way, I could have my main workstation on one end of the bench, and a soldering/kiln station at the other. Plus, I could move my current benchtop to our guest room for a table for sewing and semi permanent jewelry photography.
After deciding on this setup, I waffled a long time (I’m a horribly waffler, I can never make up my mind) and then one day in early May when I felt like I couldn’t SIT at my bench for one more excruciating minute again, I ordered the adjustable base. It was backordered, until June. At the beginning of June, I went to Ikea and picked out my countertop, brought it home, sanded and sealed it with a poly-urethane.
And then this week my adjustable height desk base arrived!
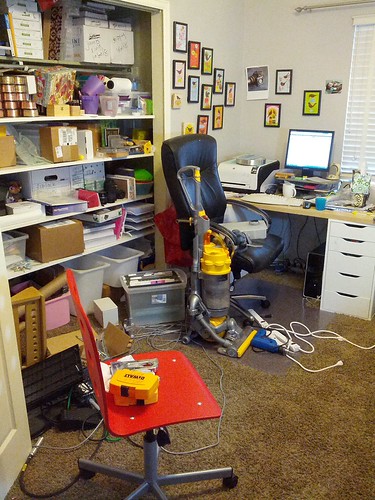
My office was… a complete and utter mess. I mean, disaster area mess. So first came the clean up. This was taken AFTER the first pass of cleaning up.
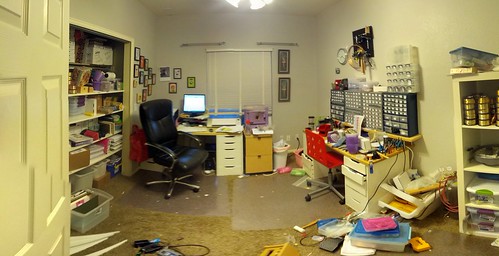
My kids came in and said, “WOW IT’S SO CLEAN!!” Yeah — as you can see, NOT that clean, but that gives you an idea of how horribly messy it was BEFORE!
The final clean up was this morning, then came removing everything from my benchtop to the hallway, and moving the old desktop up to the guest room. Then in came the freshly lacquered countertop, and Ethan and I began assembling the adjustable height bench!
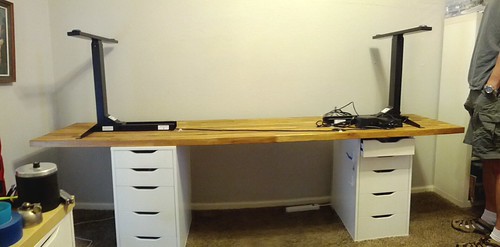
After we got it assembled, and mounted to the underside of the countertop, we flipped around, moved the drawer units out of the way, and tried out the adjustable heightness!
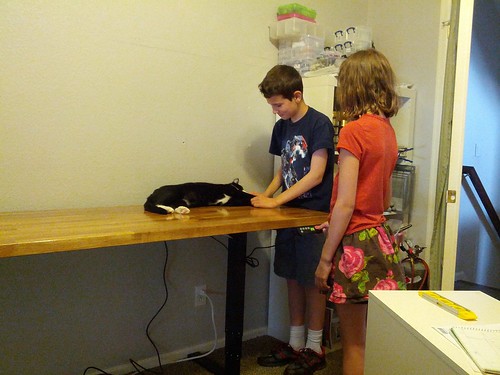
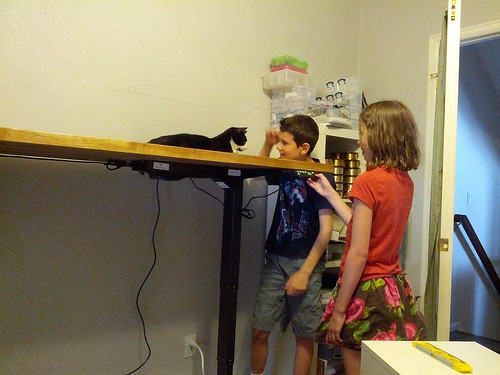
Kitties were offered some elevation.

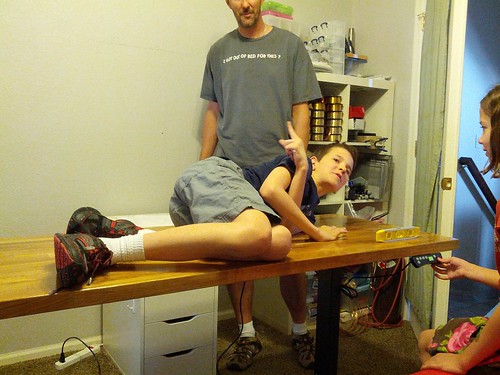
The desk base can hold up to 320 pounds. So the kids piled on for a ride!
My favorite part: Me saying, this is not a fun toy, and my son saying, “Wow I like this fun toy!” Little smart ass 🙂
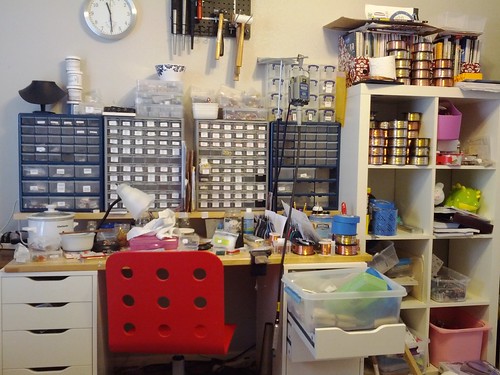
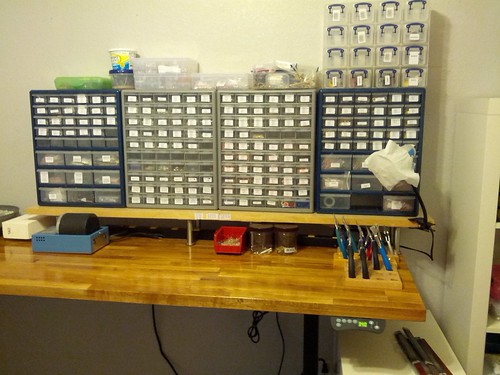
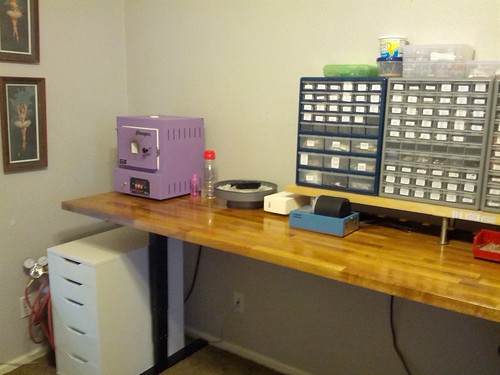
So after all the adjustableness fun wore off and I was left alone, I started to put everything back on my bench. This is as far as I got tonight:
Side 1:
Side 2 with kiln & soldering station.
Also forgot one of the most important things my RULER! — I wish I had done this before I lacquared the top of the bench, then it would be protected under the lacquer and less likely to wear off.
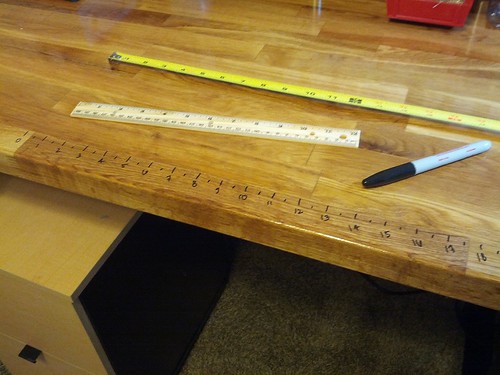
I take it up to 20 inches – easy for measuring out necklace chain.
This may be the cleanest this bench will EVER BE. By the end of next week, I bet it will be a huge mess.
The other side of the studio still needs some work as well. Whenever I go into clean-the-studio mode, I pop the doors off the closet, easier to get at everything. I’ll pop them back on when everything is spick and span:
Tomorrow I will be finishing up — overall, I’m super excited about my new bench! Things to still consider — will hammering things on my bench block harm or lesson the life of the adjustable base? I may be calling to see if they have any insight. Also — I have a nice hammer rack which was mounted on the jewelers bench that I need to see if I can hang somewhere.. Maybe James can rig something on the side of the bench to hang it from.
So exciting!
Comments Off on Studio Rearrange Take 439! Height Adjustable BENCH!